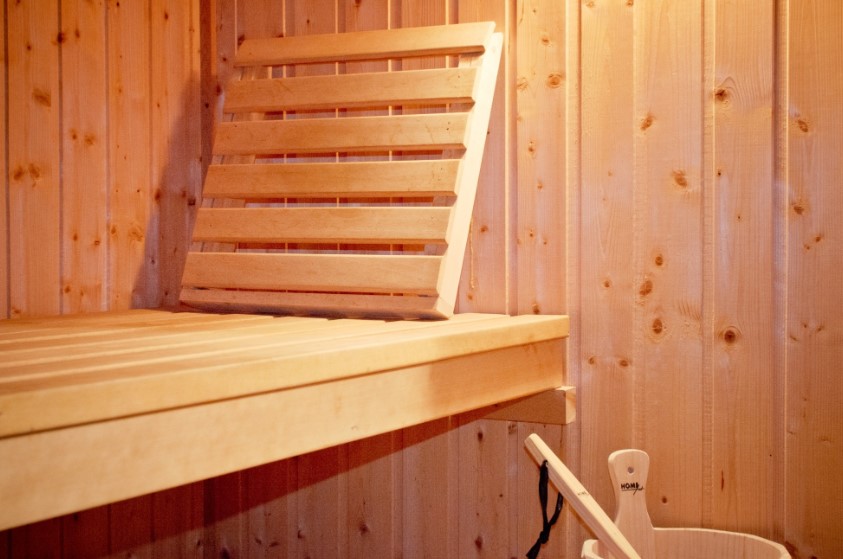
Do you want to get in a sauna at any time you prefer but don’t have the time to drive there each time? Maybe it’s time to make one yourself! The question is, how?
A DIY sauna sounds like a fun little project, but it actually takes some work to get done. You will need space and material, from insulation to softwood.
There are several ways to build a sauna, but we’ll start with the basic steps to guide you. So, grab your tools, and let’s begin!
Find a Location
The first thing you need is a place for the sauna. Decide if you want it indoors or outdoors, then start preparing from there.
Clear the room and expose the walls to the studs for an indoor sauna. If your home sauna goes outside, look for a space wide and flat enough. You can also use a shed to make it a portable sauna.
Note that the sauna’s floor must be waterproof. An outdoor sauna requires proper waterproofing and sealing, but an indoor one works with a coat or tile.
Install the Electrics
Once you have your studs out, run the wiring through them. It should include wires for the heater, thermostat, lights, and other devices.
After, you should drill through them, run the conduit, and match the wire to each device. It’s also crucial to make sure your breaker can handle the heater. If you need help, contact an electrician or sauna professional teams like SaunaRay to guide you.
Insulate the Space
If you want your sauna to heat up fast, you should insulate it. It also protects the building materials from the heat the sauna will produce. Many suggest using glass wool insulation during sauna installation. Place them between stud bays and ceiling joists.
Add a Vapor Barrier
Secure the insulation with a foil-faced vapor barrier. For this, you should start with the lower part of the room moving up towards the ceiling. If there are any seams, you can seal them with foil tape.
Install Panels
When you install the paneling, start with the ceiling. Nail the first board through the face and into the joists, then line up the rest following the first board on each wall. Cut up small strips of the panels to place into small gaps or extra spaces.
Install Heater and Devices
Once set, install the heater by plugging it in or plumbing its gas pipes after checking for leaks. You can also install the rest, like lights, the thermostat, and more.
Add Finishing Touches
Add the final touches to your home sauna when everything is ready and working. That means a bench, towels, and other pieces of décor if you’d like.
You can test it out with your friends or family after you finish!
Build a DIY Sauna For You and Your Family
A DIY sauna for your home is a great project to try. It requires you to work with electrical and other systems, so ensure you follow the safety standard. It’s also best to get help from professionals whenever necessary.
Nonetheless, you can build a home sauna with simple materials and a couple of hands! Want to learn more? Check out our blog for other guides.

