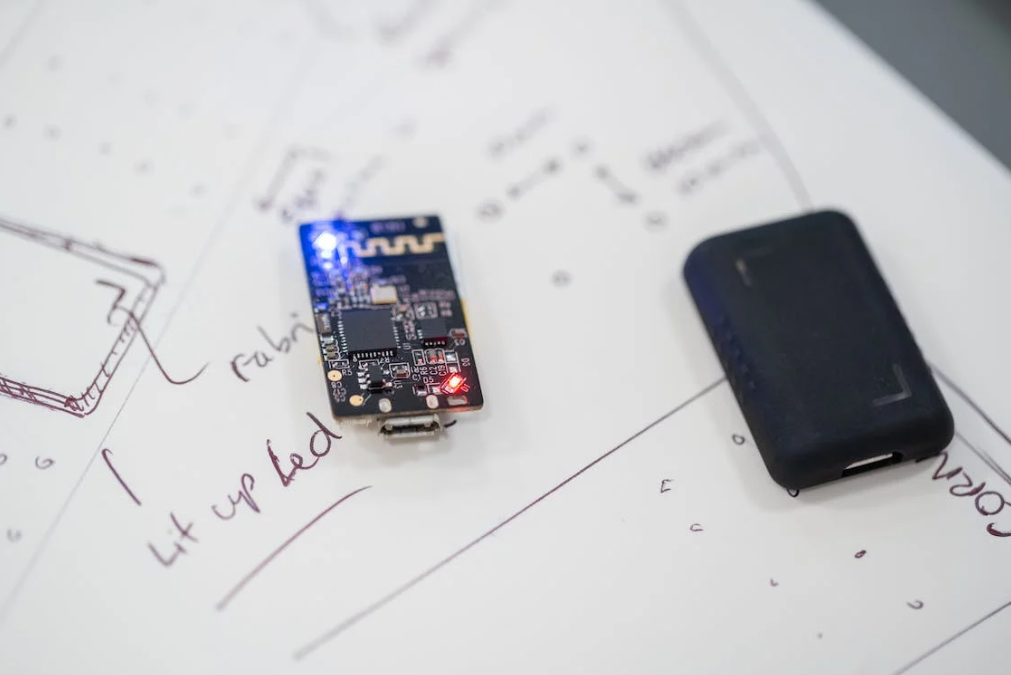
Prototype tooling is a great way to test ideas and make adjustments before investing in production molds. It is also a good way to see your product’s performance on the market.
However, it is important to consider the cost of prototype tooling. It is cheaper than production molds but still costs significant money.
Low-Fidelity
Low-fidelity prototypes allow teams to create simple sketches that capture the overall information architecture of a design. They’re also ideal for testing how a user navigates through a product or tool since they limit the visual details that can distract the audience and reduce comprehension.
In addition to the general layout of a wireframe, this type of prototype can include basic actions like clicking and scrolling. However, they should be free of advanced interaction, such as accordion menus, drag and drop, or table or grid UIs that let users sort and filter data.
A prototype’s fidelity depends on the design process’s state and the type of feedback you want to gather from your participants. It’s important to avoid prototyping at the wrong fidelity level, as this can lead to misunderstandings and wasted time. This is especially important when working with a short timeline or budget. It is often faster to produce and test a low-fidelity prototype than to wait to produce a high-fidelity version requiring more reworks and iterations.
High-Fidelity
A high-fidelity prototype looks real and is often mistaken for the final product. Designers use this type of prototype to collect meaningful feedback in usability testing because they can be more confident that test participants will behave as if using the actual product.
This type of prototyping also allows engineers to observe how users interact with the prototype and determine what is good and what needs to be improved or even added to make it a more enticing, user-friendly, and interactive experience for the customer. This can help developers identify flaws or areas for improvement in their designs, saving them time and money from creating a finalized product that will not meet the customers’ expectations.
However, a drawback of this type of prototyping is that it can be quite time-consuming for designers due to the level of detail involved. Some tools focus more on linking screens than designing the UI, which can slow down design processes.
Physical
A physical prototype is a tangible representation of your product designed to help showcase, test, and evaluate your design. Often, the focus of a physical prototype is aesthetics or user experience based.
The choice of physical prototyping methods varies from additive manufacturing, like 3D printing or Direct Metal Laser Sintering, to CNC machining and turning. While these techniques produce great results, they can be expensive and time-consuming.
A physical prototype is also important for assessing whether the design is functional. It’s a good idea to perform a low-volume testing session with your users to gather quality feedback and identify major issues. This allows you to make necessary changes before executing them on final production tooling.
Digital
Depending on the complexity of the design and what stage of product development you are in, several digital prototyping tools can fit your needs. Some are focused on linking screens into a flow, while others are more immersive and resemble a fully functional application.
The key to choosing a tool is to understand the goals of your prototype testing and which aspects of the final product you want to evaluate. For example, if you’re evaluating an e-commerce site, testing whether users can easily find what they’re looking for might be useful.
Another important factor is considering how close the digital prototype will be to the finished product. The design must be reliably produced to have value in user testing. In that case, you may need to invest in production tools or use a service like Sculpteo. This way, you can better understand how your final design will feel in hand.

